The participant will learn:
* How indirection and dynamic instantiation are used to build generic test steps
* How to create universal verification steps and functions
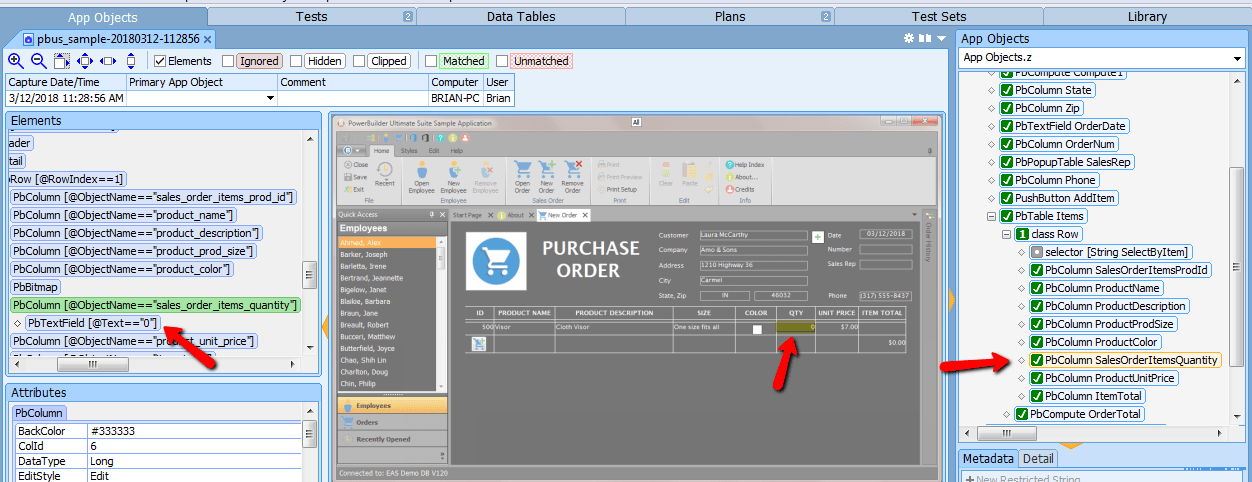
* About built-in functions that provide information about the current state of the target application
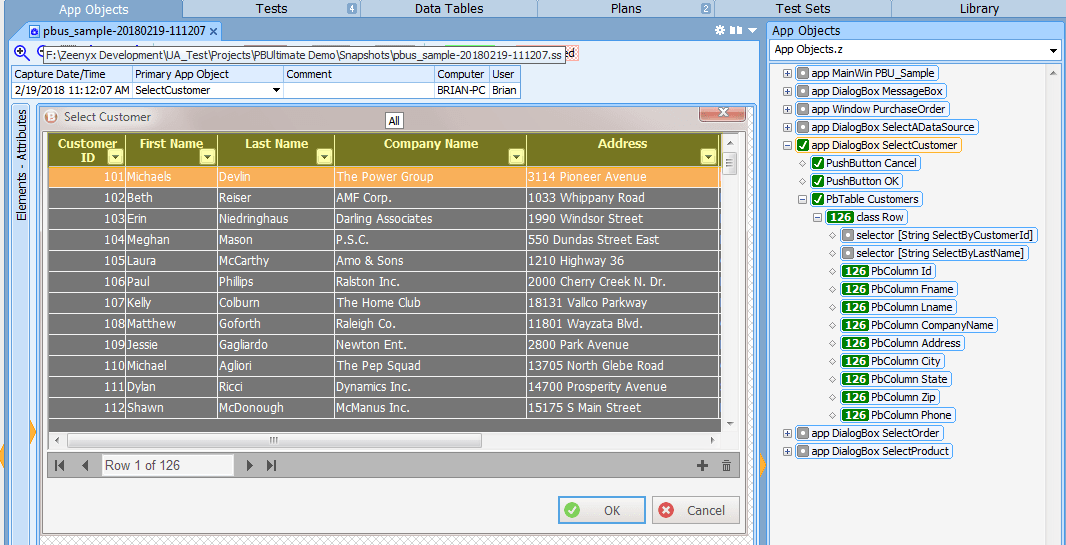
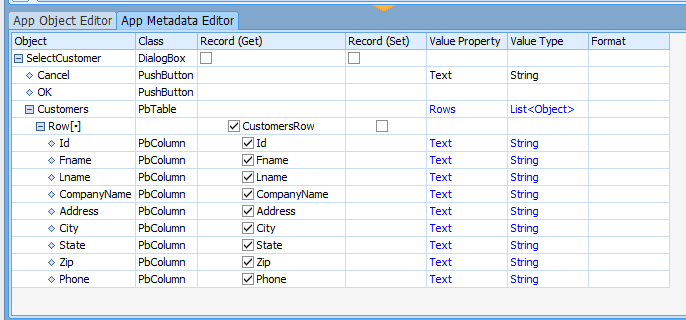
* How metadata can be used to set object-related test data
* How to create a test that walks the main menu of an application, opening and closing each dialog
Decades of Leadership in the Software Testing Industry
AscentialTest has been forming in the minds of our founders for several years. After building QA Partner/SilkTest at Segue Software in the 90s, they got the opportunity to use their product extensively in the field. As consultants implementing test automation with various tools for more than 10 years, they’ve formed a thorough assessment of the state of the field. What they found surprised them: automated tests were too expensive to build.
Furthermore, the requirement for programming skills to move beyond the superficial tests that can be recorded left out too many members of the team. They also discovered that a large portion of test development time is spent ‘writing code’ to workaround object recognition deficiencies. Some users estimate that time to approach 80%. Clearly this explains why the decision to adopt automation is not always straightforward. With a fresh understanding of the challenges and our heads full of ideas, we’re energized and excited to bring about the next paradigm shift in test automation.
 Brian has been working in the field of test automation for more than 30 years. Brian began as a QA Engineer using the testing tools available in the early 1980’s. He joined Segue Software in its infancy and served as the EVP of R&D during that company’s golden years. Brian formed Star Quality, a consulting firm specializing in test automation in the late 90s. After 12 years of experience in the trenches, he’s excited to be building the next generation testing tool that will increase the productivity and and effectiveness of test and development teams.
 Dave is a pioneer in the field of automated testing. Dave developed ATF, one of the first automation tools, more than 20 yeas ago. He was a founder and Chief Architect of Segue Software, Inc., the original creators of QA Partner/SilkTest. Dave believes that no testing tool can be easy to use without a solid foundation. That’s why he is committed to providing AscentialTest’s universal agent with the most powerful object recognition engine in the industry.
Pricing Plans - Solo Testers to Large Enterprise Teams
Not seeing a pricing package that fits your needs? Want to compare us directly to a competitor’s offering? Tell us more, let us take a shot at providing a custom or lower cost package.
Subscription
Solo Testers
Starting at $200/mo
- All extensions & defect tracking
- Ascential consultant network (no dedicated support)
“The Selenium Killer”
Subscription
Teams
Starting at $380/mo
- Includes 1 extension
- Includes collaboration pkg
- Choose additional Seats
- Choose additional extensions
Subscription
Unlimited
Starting at $6k/mo
- Unlimited Seats
- Includes all extensions
- Includes collaboration pkg
- Lifetime maintenance
- Lifetime updates
Perpetual License
Teams
Starting at $8.4k
- Includes one extension
- Includes collaboration pkg
- Annual maintenance starts at $1.4k
Perpetual License
Unlimited
- Unlimited Seats
- Includes all extensions
- Includes collaboration pkg
- Annual maintenance starts at $50k
Other Resources
Upcoming Webinar
Building Reusable Verification Tests
Tue, March 25, 2025 10:00 AM - 11:00 AM EDT
See How We Achieved an 83% Five Star Rating on Gartner
See how AscentialTest compares to the competition, using 18 key features and functions and across 14 different development platforms
- Supported Platforms (14)
- Integrated Test Planning
- Object Recognition
- Object Repository
- Test Frameworks
- Foreign Language UX
- Drag Generations of Actions
- Reusable Steps
- Scripting
- Manual Testing
- Parallel Execution
- Integrated Defect Tracking
- Test Localization
- Test Portability
- Test Management
- Test Execution Management
- Integrated Version Control
- Integrated Test Management

Eggplant
Gartner 5 Star Reviews:
0
%

TestComplete
Gartner 5 Star Reviews:
0
%

Tosca
Gartner 5 Star Reviews:
0
%

Ranorex Studio
Gartner 5 Star Reviews:
0
%
Features
Object Recognition
AscentialTest recognizes application elements regardless of complexity without coding hacks or reliance on fragile OCR
Drag & Drop
Creating tests with our drag & drop editors is faster and more efficient than recording or scripting
Reusable Elements
Reuse promote faster building and maintenance of tests
No More Test Frameworks
Stop creating test frameworks and focus on your testing
Test Management Tools
Testing projects can get messy without good management tools
Complex Objects
Let AscentialTest do the heavy-lifting when it comes to tables, grids and trees
Integrations
Testing productivity involves meaningful integration with collaboration tools
Powerbuilder Expertise
We are the recognized go-to testing platform for PowerBuilder, we cover PB v6.x all the way to the current version.


